The Allure of Pan-Fried Beer Battered Halibut: Crispy Perfection at Home
There's something undeniably satisfying about a perfectly cooked piece of fish, especially when it boasts a golden, crunchy coating that gives way to tender, flaky flesh. While deep-fried fish and chips hold a special place in culinary hearts, mastering homemade pan-fried
beer battered halibut offers an equally delightful experience with less fuss and oil, bringing that beloved takeaway flavor right into your kitchen. This comprehensive guide will walk you through every step, from selecting the finest halibut to achieving that coveted crispy crust, ensuring your next meal is a resounding success.
Pan-frying offers a fantastic alternative to deep frying, making crispy fish more accessible for home cooks without specialized equipment. The goal is a light, airy, and audibly crisp exterior that perfectly complements the delicate flavor of the halibut within. Whether you're a seasoned chef or a kitchen novice, these tips and techniques will elevate your pan-fried
beer battered halibut from good to truly exceptional.
Crafting the Ideal Beer Batter: Ingredients and Techniques for Maximum Crispiness
The secret to truly outstanding
beer battered halibut lies predominantly in the batter itself. It’s not just about mixing ingredients; it’s about understanding their roles and how they interact to create that magical crispy texture.
The Foundation: Flour, Seasonings, and the Power of Carbonation
Our journey to crispy perfection begins with the dry ingredients. A combination of all-purpose flour provides the structure, while carefully selected seasonings infuse flavor directly into the crust. Think beyond just salt and pepper. Incorporating paprika adds a touch of color and subtle sweetness, granulated garlic offers aromatic depth, and a pinch of cayenne or white pepper can provide a gentle, warming kick. The initial dredging of the fish in a seasoned flour mixture before adding the wet batter helps create multiple layers of crispiness, ensuring every bite delivers that satisfying crunch.
Next, we introduce the star liquid: beer. The carbonation in beer is a crucial element, acting as a natural leavening agent. As the cold batter hits the hot oil, these tiny CO2 bubbles expand rapidly, creating an incredibly light, airy, and fluffy texture that shatters beautifully when bitten into. For those who prefer a non-alcoholic option, any cold, carbonated beverage like club soda or even a light-colored soda can achieve a similar effect, as the bubbles are the primary requirement, not the alcohol content itself. However, the malt notes in beer do impart a unique depth of flavor that many find irresistible.
Mastering Batter Consistency for Your Perfect Bite
The consistency of your batter is subjective and can be tailored to your preference. For a thicker, more substantial coating, use slightly less liquid. If you desire a lighter, thinner, and more delicate crunch, add a bit more beer or carbonated water. A good starting point is a consistency similar to pancake batter – thick enough to cling to the fish without running off, but thin enough to flow smoothly. Remember, the liquid for your batter should be *ice cold*. This temperature difference between the cold batter and the hot oil is another critical factor in achieving that explosive crispiness. For a deeper dive into the nuances of batter and how it performs with various proteins, consider exploring
Crispy Beer Batter: Halibut, Cod, or Chicken Tenders for Dinner.
One often-overlooked tip for achieving maximum crispiness is ensuring the surface of your halibut fillets is *bone dry* before coating. Any residual moisture on the fish will create steam, preventing the batter from adhering properly and resulting in a soggy, rather than crispy, crust. A few gentle pats with paper towels are all it takes to make a significant difference.
The Art of Pan-Frying: From Fish Prep to Golden Brown Perfection
With your batter ready, the next step is the actual frying process. This stage requires attention to detail, particularly regarding fish preparation and oil temperature, to transform your ingredients into golden, flaky delight.
Preparing Your Halibut for its Crispy Journey
Whether you're starting with fresh or frozen halibut, proper preparation is key. If using frozen fillets, thaw them thoroughly overnight in the refrigerator or by submerging them in a sealed bag in a bowl of cool water for about an hour. Never rush the thawing process with hot water, as it can compromise the fish's texture. Once thawed, the most important step before battering is to pat the fillets dry with paper towels. As mentioned earlier, moisture is the enemy of crispiness. Ensuring a completely dry surface allows the batter to cling beautifully, forming a perfect seal.
While halibut is our star, this method is incredibly versatile. You can apply these same techniques to other white fish like cod, tilapia, or even salmon. The delicate nature of white fish makes them ideal candidates for this light, crispy batter.
The Science of Hot Oil: Selection, Temperature, and Technique
Choosing the right oil is crucial. A neutral-flavored oil with a high smoke point, such as vegetable oil, canola oil, or grapeseed oil, is ideal. These oils won't impart any unwanted flavors to your delicate halibut and can withstand the necessary high temperatures for frying.
The oil temperature is arguably the most critical factor for achieving a crispy, evenly cooked result. The sweet spot for pan-frying
beer battered halibut is typically between 350-375°F (175-190°C). If the oil isn't hot enough, the batter will absorb too much oil, becoming greasy and soggy. If it's too hot, the batter will burn on the outside before the fish is cooked through, leading to an unpleasant bitter taste and raw fish.
A reliable thermometer is your best friend here. If you don't have one, a simple test is to drop a tiny bit of batter into the oil. It should immediately sizzle and float to the surface, but not violently splatter. If it sinks and barely bubbles, the oil is too cold. If it darkens instantly, it's too hot. Maintain a consistent oil temperature throughout the frying process, adjusting your heat as needed. Overcrowding the pan will drop the oil temperature significantly, so work in batches, frying only a few pieces at a time to ensure optimal crispiness and even cooking. For more specific guidance on oil temperatures and ensuring your fish is perfectly prepared, check out
Achieve Perfect Beer Battered Halibut: From Dry Fish to Hot Oil.
Once the halibut is coated, gently lay each piece into the hot oil, cooking for about 3-4 minutes per side, or until deeply golden brown and the fish flakes easily with a fork. Remove the cooked fish to a wire rack set over paper towels to drain any excess oil, which further promotes crispiness.
Elevating Your Meal: Perfect Pairings and Serving Suggestions
The beauty of perfectly cooked
beer battered halibut extends beyond its crispy texture and tender interior; it’s also incredibly versatile when it comes to serving. While delicious on its own, thoughtful accompaniments can truly complete the experience.
Classic Pairings and Flavor Enhancements
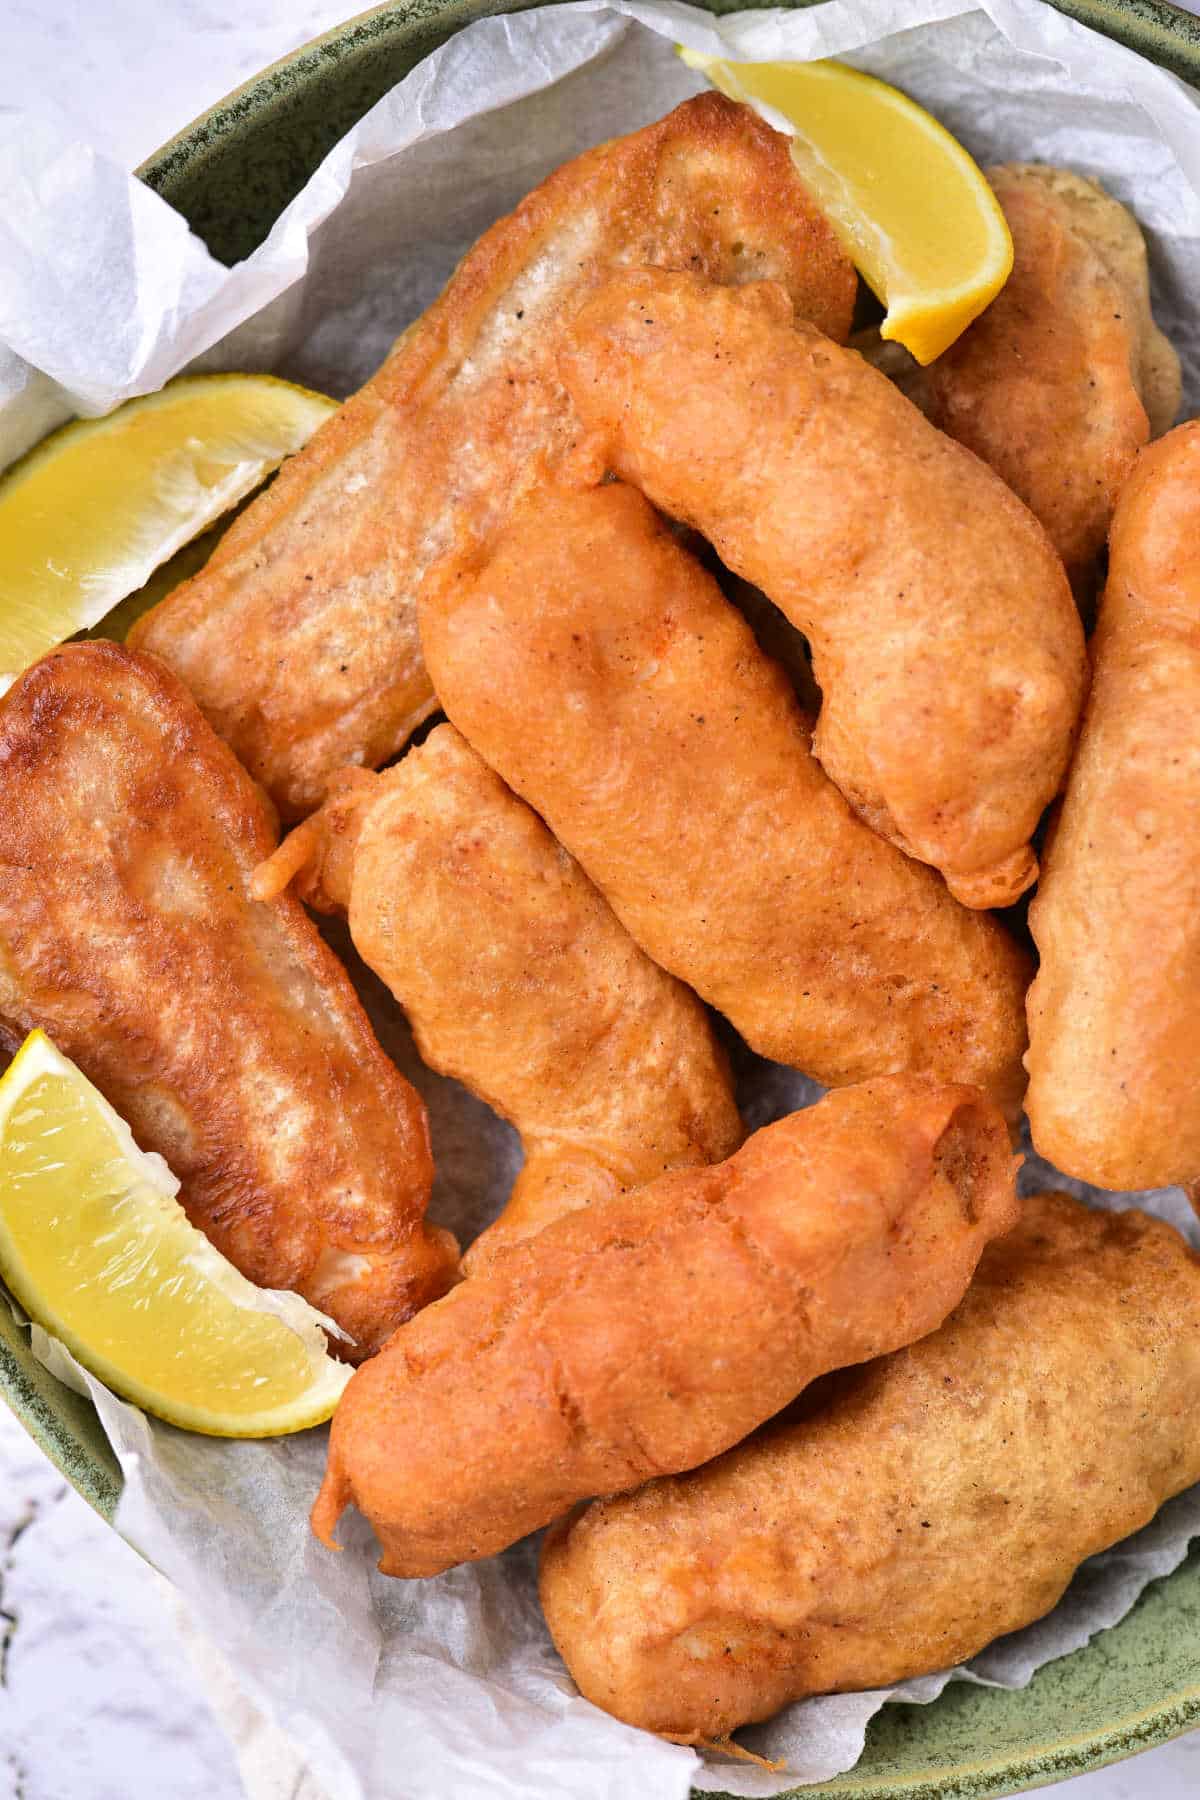
The quintessential partners for fried fish are undeniably lemon wedges and a creamy tartar sauce. The bright acidity of fresh lemon cuts through the richness of the fried batter, invigorating the palate with each squeeze. Homemade tartar sauce, with its tangy blend of mayonnaise, pickles (or capers), fresh dill, and a touch of lemon juice, offers a refreshing contrast that complements the fish beautifully. Don't be afraid to experiment with other dipping sauces too – a spicy aioli, a sweet chili sauce, or even a simple malt vinegar can provide exciting flavor profiles.
Beyond the Basics: Side Dishes and Creative Twists
To transform your pan-fried
beer battered halibut into a full meal, consider classic British-inspired sides like homemade chips (fries), mushy peas, or a vibrant coleslaw. For a lighter approach, a fresh garden salad, roasted asparagus, or grilled corn on the cob can provide a delightful balance.
Think outside the traditional fish and chips box! Flaked beer-battered halibut makes an incredible filling for fish tacos, nestled in warm tortillas with a crunchy slaw and a zesty crema. It can also be transformed into a fantastic fish sandwich, served on a soft bun with lettuce, tomato, and your favorite sauce. The possibilities are truly endless once you've mastered the crispy fish itself.
Conclusion: Your Journey to Crispy Beer Battered Halibut Mastery
Crafting perfectly pan-fried
beer battered halibut at home is an incredibly rewarding culinary endeavor. It’s a testament to how simple ingredients, combined with careful technique, can yield results that rival your favorite seafood restaurants. By focusing on critical steps like ensuring dry fish, utilizing a cold, carbonated batter, and meticulously controlling your oil temperature, you unlock the secrets to a golden, audibly crispy crust every single time. So, gather your ingredients, embrace these tips, and prepare to delight your taste buds with a homemade fish experience that is truly unmatched. Enjoy the process, savor the aroma, and most importantly, relish every crispy, flaky bite of your expertly made beer battered halibut.